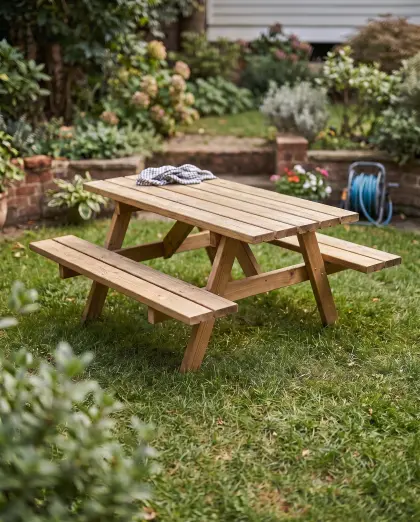
What you’ll build
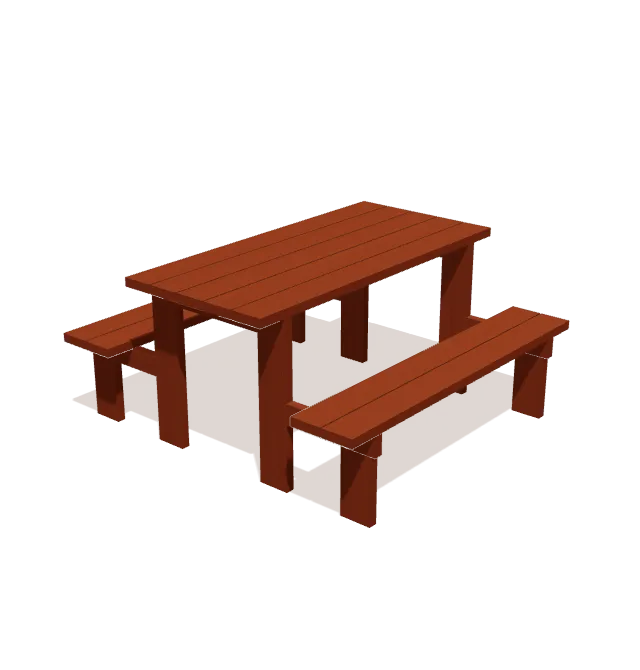
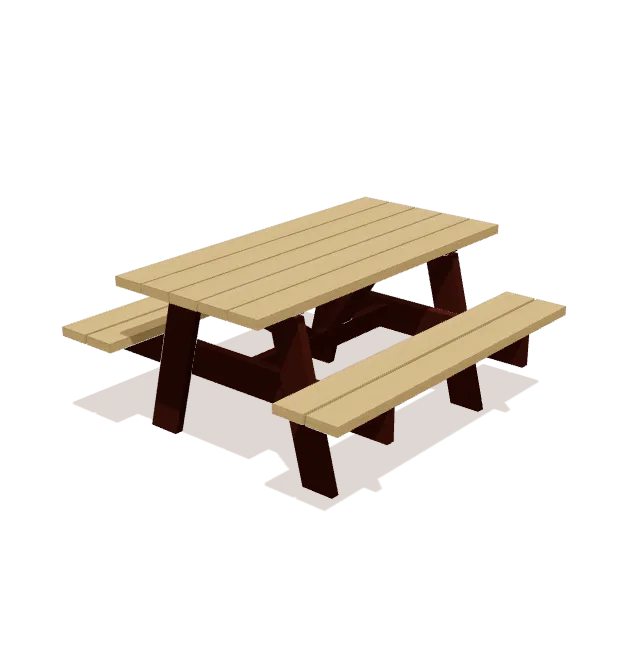
Each end frame is a 2x4 top cleat, two splayed 2x6 legs, and a 56″ 2x6 cross member that carries the benches. A 2x4 center stretcher links the two frames, and two diagonal braces run from it up to the top cleats. Four 60″ planks make the benches and five make the top. The legs and braces need angled cuts.
Shopping list
Buy these boards. The list fits every cut onto standard lengths and leaves ⅛″ for each saw cut and ¼″ for trimming board ends.
| Lumber | Length | Qty |
|---|---|---|
| 2x6 | 8 ft | 11 |
| 2x4 | 8 ft | 2 |
Cut list
All 20 parts, grouped so you can cut matching pieces together. Exact lengths and end-cut angles for every part are in the free plan in the TimberLab app.
| Part | Lumber | Qty |
|---|---|---|
| Seat Board / Tabletop Board | 2x6 | 9 |
| Leg | 2x6 | 4 |
| Cross Member | 2x6 | 2 |
| Top Cleat | 2x4 | 2 |
| Brace | 2x4 | 2 |
| Stretcher | 2x4 | 1 |
Tools
- Tape measure
- Pencil
- Speed square
- Drill
- Eye & ear protection
- Miter saw
- Clamps
Step-by-step instructions
Assemble Front Leg Frame
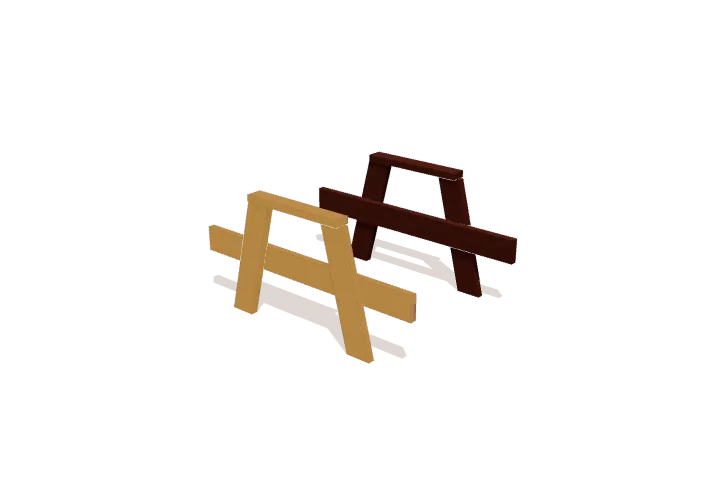
Lay the 24-inch front top cleat flat on a work table. Position the front left and right legs against its bottom face with the mitered tops flush, then align the 56-inch front bench cross member across both legs.

Assemble Rear Leg Frame
Lay the 24-inch rear top cleat flat on your work surface. Align the rear left and right legs flush against the cleat ends, then place the 56-inch rear bench cross member across the legs to match the front frame.
Connect the Leg Frames
Install Diagonal Knee Braces
Install Bench Seat Planks
Set Tabletop Planks
Get the full plan: all 6 steps and every cut length.
Download TimberLab and open Classic picnic table in the catalog to get every cut length and end-cut angle, all 6 assembly steps in 3D, and Timbo, the AI build helper. Catalog plans are free to open; some features, such as AI edits, require a subscription.


For outdoor use, choose a rot-resistant or pressure-treated lumber (rated for ground contact where wood touches soil) and exterior-rated screws. Seal the end grain, build on level ground, and check the joints each season.
Change the size or design
This plan is one of the projects in the TimberLab app’s catalog. In the app you can turn the model in 3D, follow the assembly steps one part at a time, and ask for changes in plain words, such as “make it 6 inches shorter” or “add a shelf”. The cut list and shopping list update to match the new design.
Questions about this plan
How much lumber do I need to build this classic picnic table?
The shopping list calls for 11 × 2x6 at 8 ft; 2 × 2x4 at 8 ft. It groups every cut onto standard board lengths and leaves room for saw cuts and trimming the board ends.
How big is the finished classic picnic table?
It is 56 ½″ wide, 29 ½″ tall, and 60″ deep.
What tools do I need?
You need a tape measure, pencil, speed square, drill, eye & ear protection, miter saw, clamps.
Can I change the size of this classic picnic table?
Yes. Open the classic picnic table in the TimberLab app and describe the change in plain words, such as “make it 6 inches shorter”. The 3D model, cut list, and shopping list update together.
Where can I get the full classic picnic table plan?
The full plan, with every cut length and all 6 assembly steps in 3D, is free in the TimberLab app. Download TimberLab on the App Store and open the classic picnic table in its catalog.