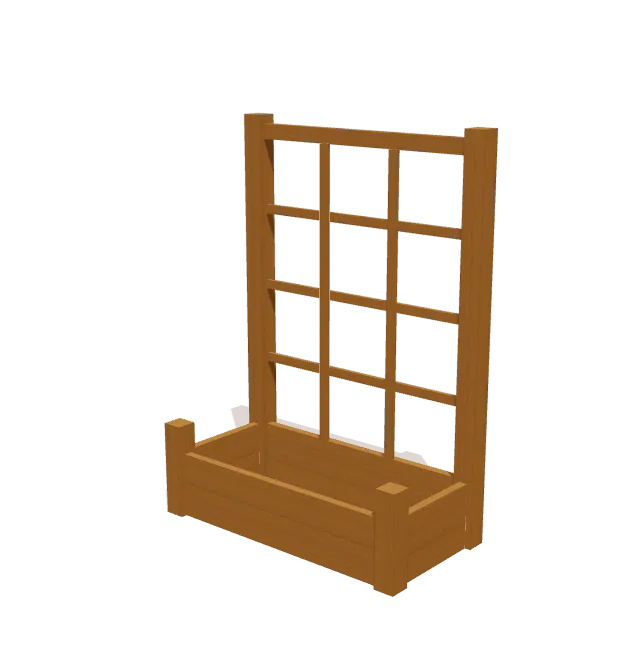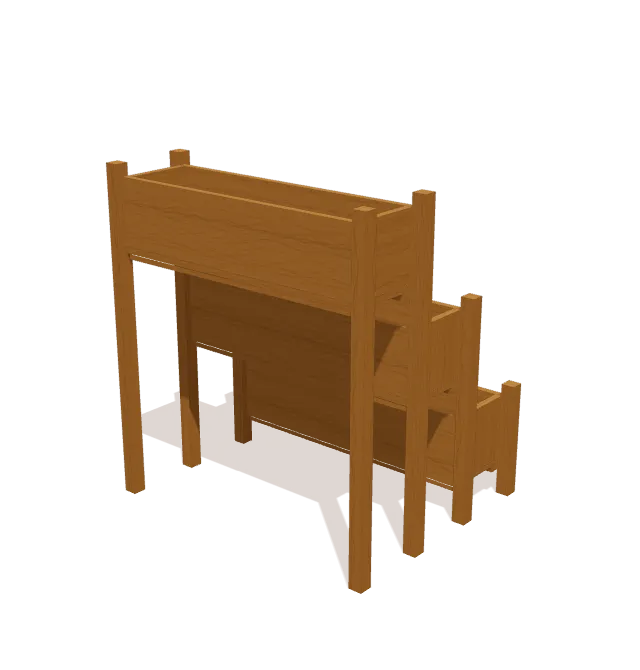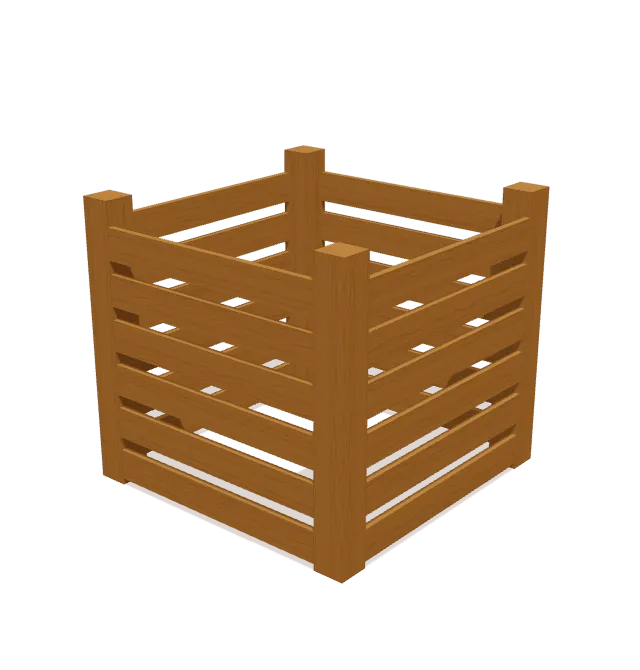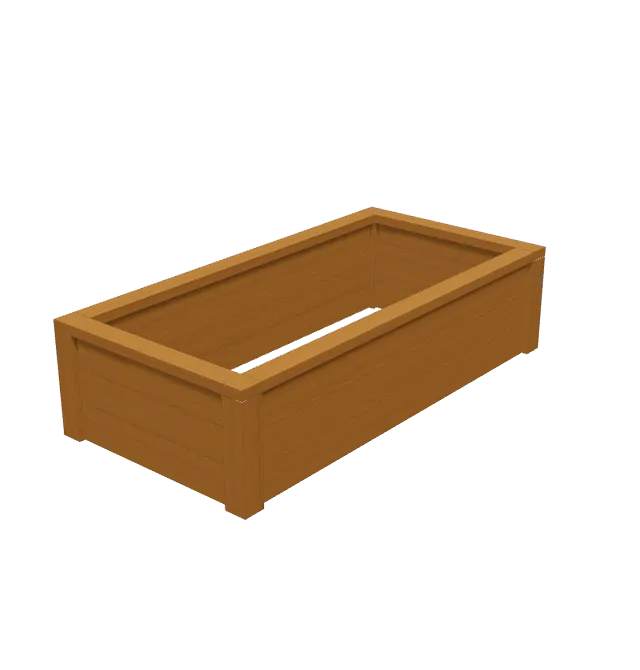
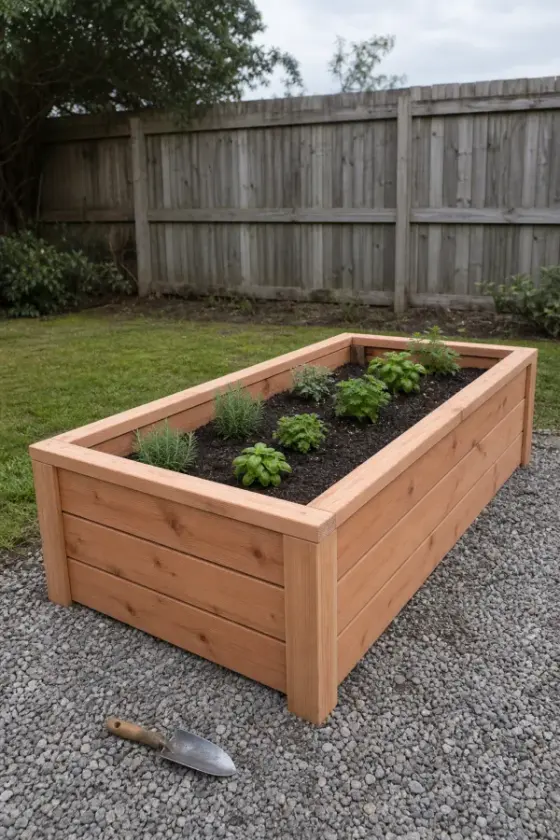
What you’ll build
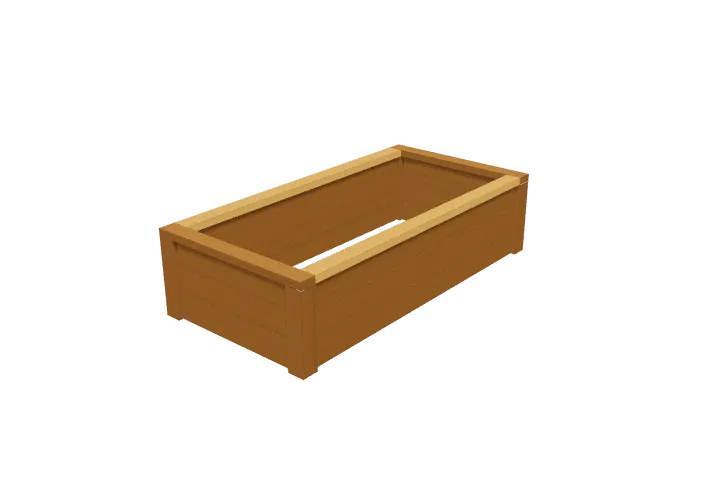
Each end wall is three 29″ 2x6 boards between two 16½″ 4x4 posts. Three 65″ 2x6 boards on each side join the ends, and a 2x4 cap frames the top. The walls hold about 16½″ of soil.
Shopping list
Buy these boards. The list fits every cut onto standard lengths and leaves ⅛″ for each saw cut and ¼″ for trimming board ends.
| Lumber | Length | Qty |
|---|---|---|
| 4x4 | 8 ft | 1 |
| 2x6 | 8 ft | 6 |
| 2x4 | 8 ft | 3 |
Cut list
Every part, grouped so you can cut matching pieces together. Sizes are actual dimensions (a 1x4 is ¾″ × 3½″). Check them against your own boards before cutting.
| Part | Lumber | Section | Length | Qty | End cut |
|---|---|---|---|---|---|
| Wall Plank | 2x6 | 1 ½″ × 5 ½″ | 29″ | 6 | Square |
| Wall Plank | 2x6 | 1 ½″ × 5 ½″ | 65″ | 6 | Square |
| Post | 4x4 | 3 ½″ × 3 ½″ | 16 ½″ | 4 | Square |
| Top Cap | 2x4 | 1 ½″ × 3 ½″ | 36″ | 2 | Square |
| Top Cap | 2x4 | 1 ½″ × 3 ½″ | 65″ | 2 | Square |
Tools
- Tape measure
- Pencil
- Speed square
- Eye & ear protection
- Drill
- Miter saw
- Clamps
- Sander
Step-by-step instructions
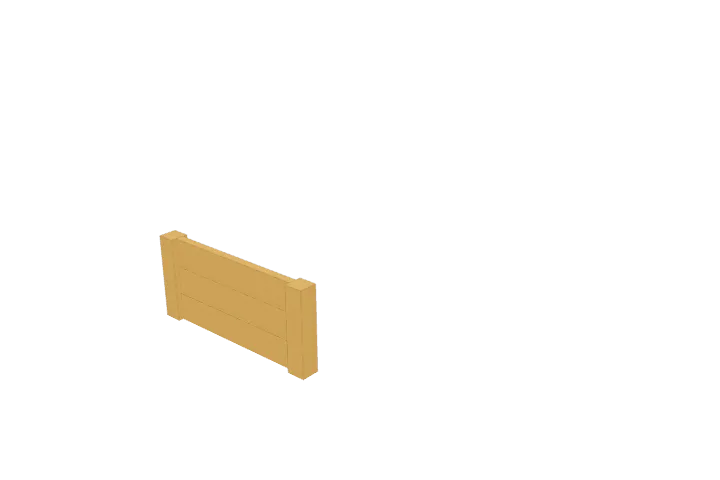
Assemble the front wall
Lay the two 16 1/2-inch front corner posts flat on a clean work surface. Fit the bottom, middle, and top 29-inch front planks between the posts with all faces and ends flush.
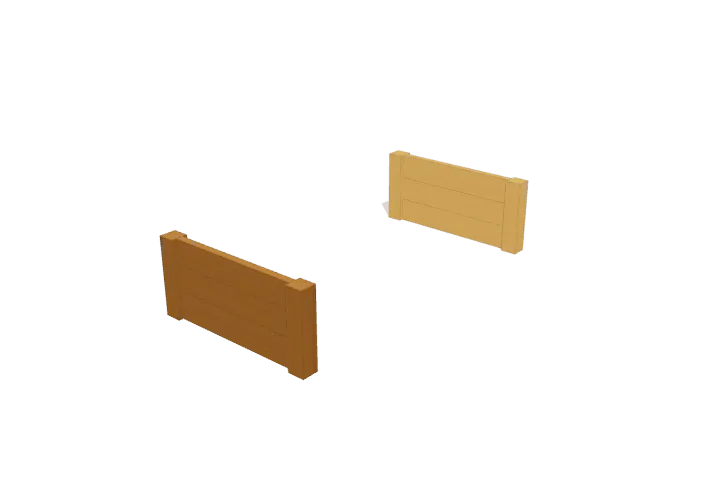
Assemble the back wall
Lay the two 16 1/2-inch back corner posts flat on your work surface. Place the three 29-inch back planks between them, keeping the edges flush with the post faces and checking for square.
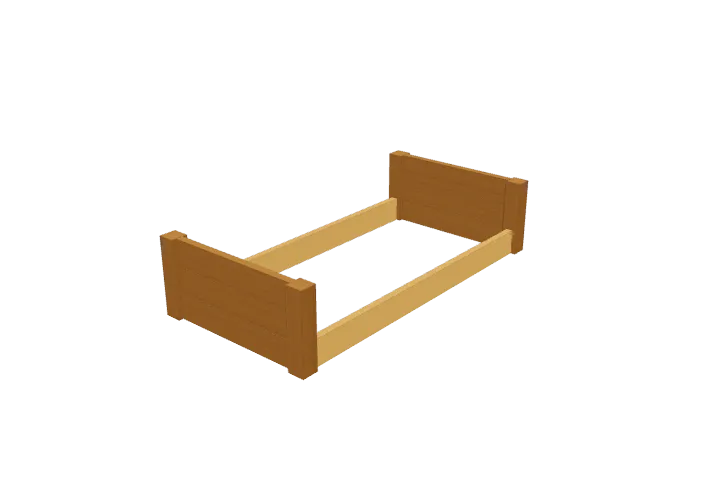
Join the front and back walls
Stand the front and back wall panels upright on a flat surface with a helper or temporary braces. Fit the two 65-inch bottom side planks between the corner posts at ground level, flush with the outer post edges.
Install the middle and top side planks
Stack the two 65-inch middle side planks on top of the bottom planks, then set the two top side planks over them. Align the plank ends tightly against the corner posts so the top edges sit flush.
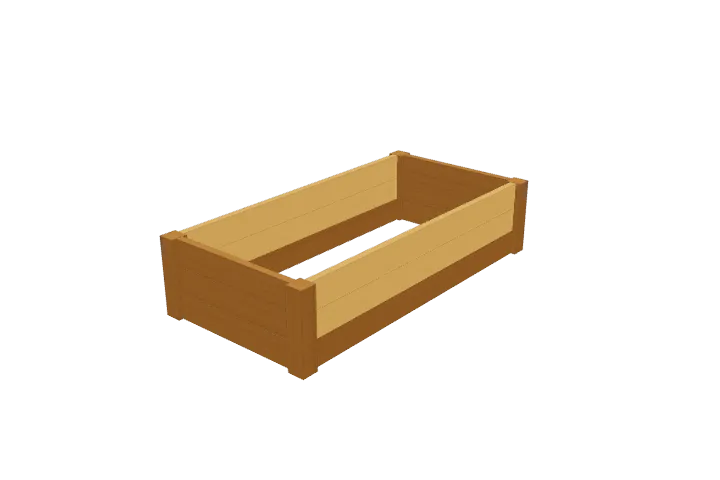
Position the front and back top caps
Set the two 36-inch front and back top cap rails flat across the upper ends of the front and back walls. Align the outer edges flush with the exterior faces of the corner posts.
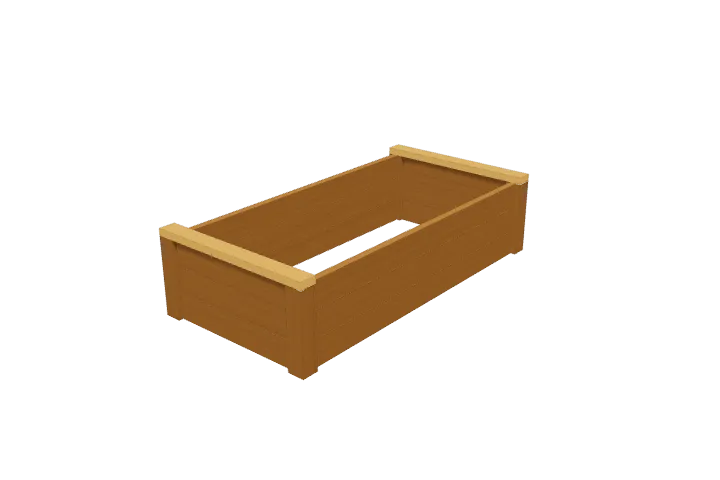
Fit the side top caps
Place the two 65-inch side top cap rails flat along the left and right side walls between the end caps. Check that all cap rails fit snugly and sit flush with the planter rim.
Cedar and other naturally rot-resistant woods are common choices for vegetable beds. If you plan to use pressure-treated lumber for food crops, check your local extension service’s guidance first. Use exterior-rated screws.
Change the size or design
This plan is one of the projects in the TimberLab app’s catalog. In the app you can turn the model in 3D, follow the assembly steps one part at a time, and ask for changes in plain words, such as “make it 6 inches shorter” or “add a shelf”. The cut list and shopping list update to match the new design.
Questions about this plan
How much lumber do I need to build this raised garden bed?
The shopping list calls for 1 × 4x4 at 8 ft; 6 × 2x6 at 8 ft; 3 × 2x4 at 8 ft. It groups every cut onto standard board lengths and leaves room for saw cuts and trimming the board ends.
How big is the finished raised garden bed?
It is 36″ wide, 18″ tall, and 72″ deep.
What tools do I need?
You need a tape measure, pencil, speed square, eye & ear protection, drill, miter saw, clamps, sander.
Can I change the size of this raised garden bed?
Yes. Open the raised garden bed in the TimberLab app and describe the change in plain words, such as “make it 6 inches shorter”. The 3D model, cut list, and shopping list update together.